In this article, I’m going to talk about how I setup amazon workmail within few minutes.
Amazon Account
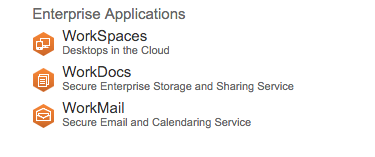
First, you must have aws account. Next login to aws web console and select WorkMail.

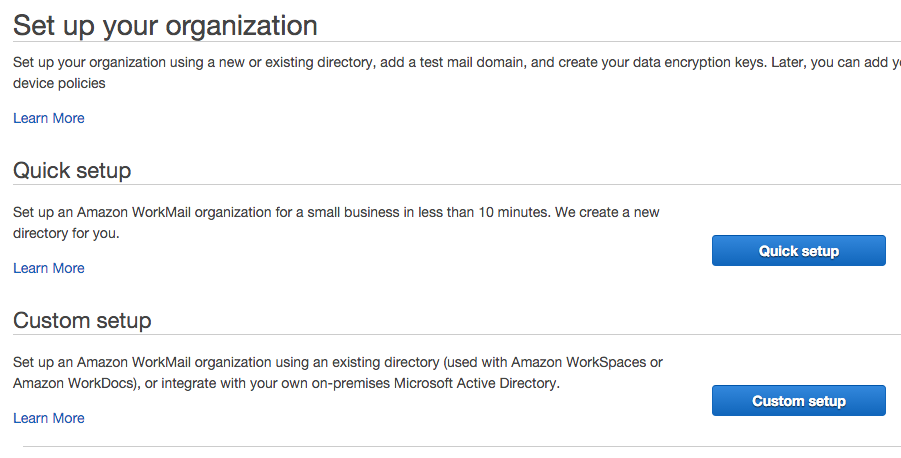
Select Quick Setup
Next, click the quick setup button and proceed to the next screen.

Enter your domain
Enter the domain, and ignore the *.awsapps.com/mail. You can customize it later.

Wait for status change
It take few minutes for create the desire organization for you, be patient.

Add Domain
After status change to active, click the alias and select domains on the left menu. Enter your domain Eg, codeomitted.com

Verify your domain
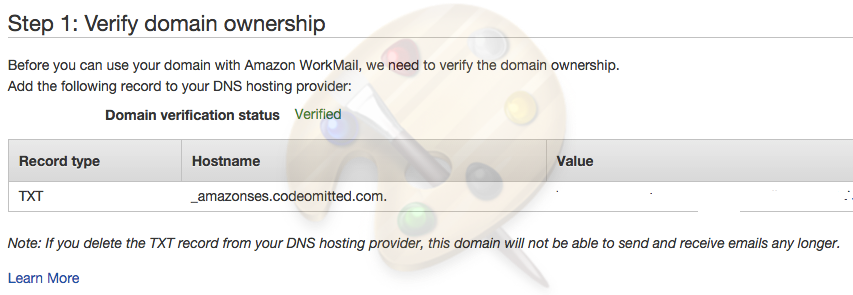
Now, amazon need a little help from you to verified your domain. Please follow the amazon instruction.

CloudFlare
This step is optional, I’m using cloudflare therefore the following instruction are depend on my provider.
Select TXT from the selection, enter _amazonses in the name and value in the click to configure. After that click Add Record button.

Repeat the step and this time select MX, and put in your value. The value can be found from your step 2 during domain setup.
The value format provided by amazon like “10 inbound-smtp.us-west-1.amazonaws.com” When enter to MX, removed the 10 to the priority column.
Once everything finish configured, back to your aws console to double check the status, it shall be change to verified

Add User
Next, create user and setup group (optional) and try login to your WorkMail console.

Reference:
hi,
thank you. worked for me.