This article was talking about how to associate your domain to cloudflare with your amazon EC2 instance.
Amazon EC2
- From your amazon dashboard select EC2.
- Skip the following if you’ve already done.
- Select Elastic IP > Allocate New Address.
- From the Action button associate with your EC2 instance.
- From the left menu, click Instance.
- Select the instance you want to connect.
- Copy the public DNS and public IP, we will use it later.
Cloudflare
- Login to your cloudflare account.
- From the top menu, click add site.
- Enter your register domain and click scan button.
- After scanning complete, it will show you DNS form.
- If the form didn’t appear click from the DNS icon from the top menu.
- As for this tutorial, we only use A and CNAME
- Enter the following information:
A: Name = xxx.com Value = Your public IP
CNAME: Name = www Value = Your public DNS - Finally click the orange cloud icon on the status column to establish the connection.
Namecheap
- Login to your namecheap account
- Select your domain and click edit selected.
- Select Domain name server setup from the left menu.
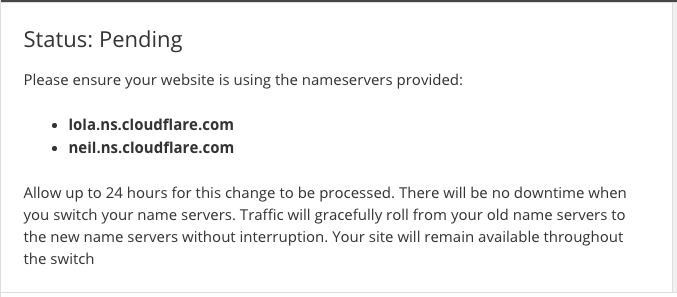
- Select the option Specify Custom DNS Servers ( Your own DNS Servers )
- Enter the following dns and remove the rest and you’ve done.
Namecheap, Cloudflare, Amazon EC2